6.5 Assigning a device to a request
You can assign a specific device to an issuance or replacement issuance request. This ensures that the request can be collected using the specified device only.
You can insert the device to assign it to the request, or you can search for the device from the list of devices already known to MyID.
If you no longer want to associate a specific device with a request, you can unassign it.
The device you select must be suitable for collection; it cannot be at a status of Lost or Disposed, and it must be of the correct type (for example, Contact Chip or Contactless) for the credential profile.
You can restrict MyID to assign only devices that are known to MyID; that is, they have previously been issued in MyID or had their serial numbers imported. In the credential profile, set the Only Issue to Known Serial Numbers option. This affects only assigning devices directly; when you search for a device to assign, MyID returns only those devices already in its database anyway. See the Importing serial numbers section in the Administration Guide for more information.
6.5.1 Assigning a device directly
You can assign a device to a request by inserting the device.
To assign a device directly:
-
Search for a request, and view its details.
See section 6.1, Searching for a request.
You can also view a request from any form that displays a link to the request.
For example:
- Click the entry in the list of requests in the REQUESTS tab of the View Person form.
- Click the entry in the list of requests in the DEVICE REQUESTS tab of the View Device form.
- View the screen that appears automatically after you have requested a device.
-
Click the Assign Device (Connect) option in the button bar at the bottom of the screen.
You may have to click the ... option to see any additional available actions.
If this option is not available, the request cannot have a device assigned; for example, it may already have a device assigned.
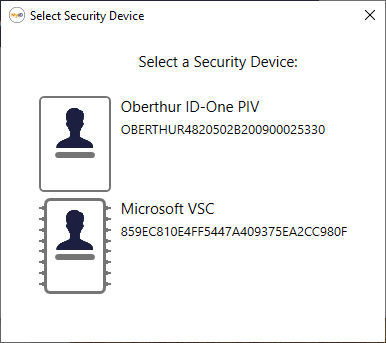
The Select Security Device dialog appears.
-
Select the device you want to assign.
The device is assigned to the request, and its serial number appears in the Device Serial Number field on the View Request screen. You can now collect the request only using the specified device.

6.5.2 Searching for a device to assign
Instead of inserting a device to be assigned to a request, you can search for a device that is already known to MyID. To enable this option, you must set the following configuration option:
-
Allow card serial number to be entered during Request Card workflow – on the
To search for a device to assign:
-
Search for a request, and view its details.
See section 6.1, Searching for a request.
You can also view a request from any form that displays a link to the request.
For example:
- Click the entry in the list of requests in the REQUESTS tab of the View Person form.
- Click the entry in the list of requests in the DEVICE REQUESTS tab of the View Device form.
- View the screen that appears automatically after you have requested a device.
-
Click the Assign Device (Search) option in the button bar at the bottom of the screen.
You may have to click the ... option to see any additional available actions.
If this option is not available, the request cannot have a device assigned; for example, it may already have a device assigned.
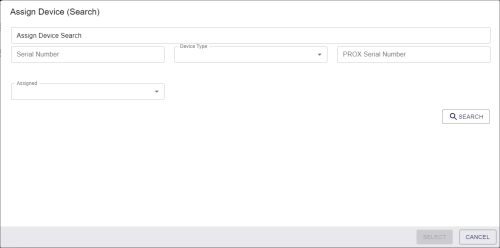
The device search form appears:
-
Provide your search criteria:
-
Serial Number – Type the serial number for the device you want to assign.
You can use wildcards in this field; use * to indicate multiple characters or ? to indicate a single character.
-
Device Type – Select the type of device from the drop-down list.
-
PROX Serial Number – Type the PROX serial number for the device.
-
Assigned – Select No from the drop-down list to restrict the results to devices that are not already assigned.
-
-
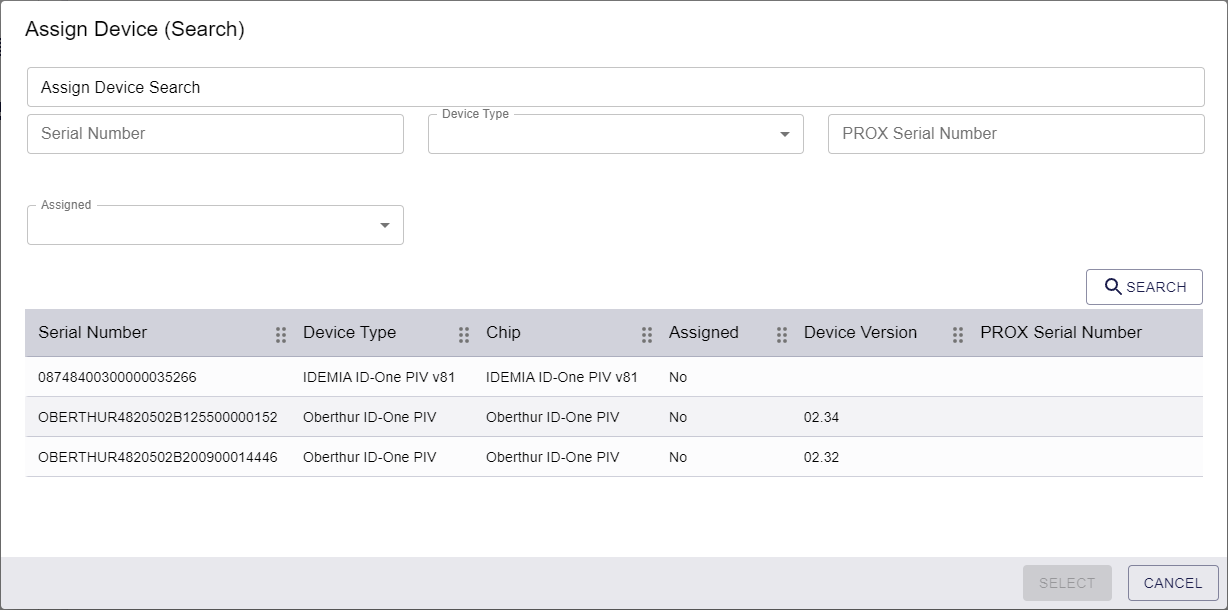
Click Search.
The list of available devices appears.

-
Select the device from the list, then click SELECT.
The device is assigned to the request, and its serial number appears in the Device Serial Number field on the View Request screen. You can now collect the request only using the specified device.

6.5.3 Unassigning a device
If you no longer want to associate a device with a request, you can unassign the device.
To unassign a device:
-
Search for a request, and view its details.
See section 6.1, Searching for a request.
You can also view a request from any form that displays a link to the request.
For example:
- Click the entry in the list of requests in the REQUESTS tab of the View Person form.
- Click the entry in the list of requests in the DEVICE REQUESTS tab of the View Device form.
- View the screen that appears automatically after you have requested a device.
-
Click the Unassign Device option in the button bar at the bottom of the screen.
You may have to click the ... option to see any additional available actions.
If this option is not available, the request cannot have a device assigned; for example, it may already have a device assigned.
The confirmation dialog appears.

-
Click CONFIRM.
The device is no longer associated with the request. You can now assign a different device, or collect the request without restrictions on the particular device to use.

6.5.4 Auditing for device assignment
The underlying mechanism for assigning a device to a request is the same whether you search for a device or insert a device. Accordingly, all audit entries for assigning a device (whether through search or directly) use the same operation name "Assign Device (Connect)" in the Audit Reporting workflow.